May 2017- Wiring Harness
Do You Really Want to do This?
 Removing a wiring harness from a car is one of the most intimidating tasks for which I have avoided for 40 years. I left the harness in place on the last car I disassembled and painted (76 BMW 2002). I discovered it limited the free movement of body work and paint. Working around a harness while painting is almost impossible if you want to do it right.
2000C/CA Wiring Click to Enlarge
Printable PDF Schematic (6 mb) and Schematic Key (3 mb)
|
Schaltplan auf Deutsch
klicken um zu vergrößern
Druckbares PDF-Schema (700kb) und Erläuterung (700kb) |


Become One with the Circuit
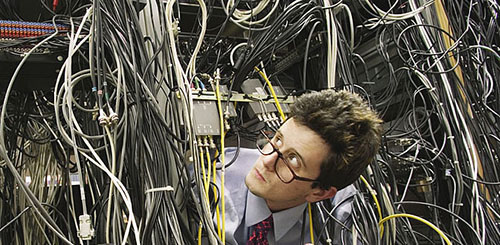
The monstrous spaghetti mass of harness - it’s mostly psychological. When one first glances at those bundles of wiring running in all directions, an almost immediate feeling of being overwhelmed sets in. A different mindset takes over when you start identifying and labeling connections to various components (lights, gauges, switches, relays). It almost feels like you are becoming part of the system, getting down to the trees in the forest, moving along it from location to location, understanding gauge size, color, etc.
 The key – the most vital aspect is to label every connection, photograph and diagram extensively. Finally when you pull the harness out, really take note how you will place it back. Think about how it will lay back down, and which extension or sub bundle will go back first. Really be painstaking about that (otherwise you will get overwhelmed not remembering what where first).
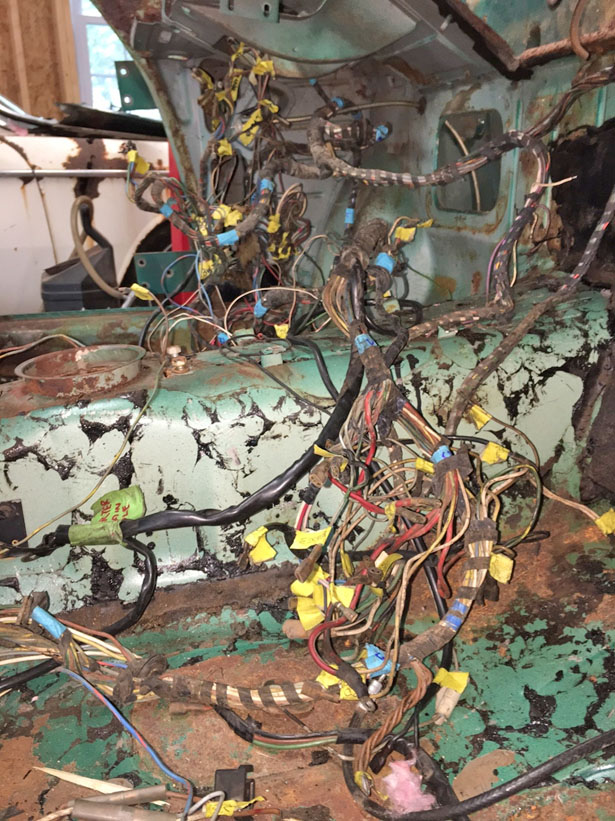
On the 1966 BMW 2000 c, the harness needs to be withdrawn from the engine and trunk area into the cockpit of the car. It can’t go the other way. There is a thick “nexus” where  bundles merge under the dash of the car that simply cannot be pulled through the firewall ports. It pays to have the interior mostly removed when doing this. In my case everything has been removed.
Interior Dash and Console
I labeled and removed all the gauges and console switches when I removed the dash board. This was my first taste at how complex some of these units  appear to be. I was use to BMW 2002s gauges. I did not anticipate the vast array of wires feeding some of the gauges.
Trunk Area
Start with rear which includes wiring running to both rear tail-brake-turn signal lights, gas tank sensor, and the light for the trunk. The harness to these 4 trunk area units runs through a port on the driver’s side of the car running underneath the rear seat area. When you pull it  all through the rear port, coil and lay in the back seat area.
Engine area
The harness to the engine area can be grouped into various groups. First are the connections to the headlights, horns, and hood dome light. The next grouping goes to the big units like the battery, alternator, and starter. Then there are the various modules and sensors like the voltage regulator, dip relay (low beam/high beams), brake,  oil, and water temp sensors. The unit with the most wires is the dip relay.
There are actually three ports running from the cockpit into the engine compartment. There are two side-by-side ports running directly underneath the instrument gauge area under the dash. There is a third port on the passenger side that feeds the coil, windshield wiper motor, and washer unit.
The first step is to remove the various components still remaining. I had already removed the engine, starter, alternator and battery. My next step was to go relay by relay documenting, photographing labeling and setting aside. I cannot help but wonder if any of these aged, crusty units are any good and will I be able to find replacements.
Headlights
 Removing the headlights on a 2000 c/ca/cs requires removing the belt trim on the nose of the car. It is release beginning with the side belt trim. There are 8 mm nuts securing it from the inside of the car. This poses a challenge and the radiator needs to be out. The large headlight units are held in place by four 10 mm nuts and bolts. This will allow you to pull them free. The lights have 4 pronged plugs.
The Two Ports
I named the two major holes through the firewall “Port 1” and “Port 2”. One of the ports only runs wiring to most of the fuses. I chose to pull that one through into the cockpit first. Once through, I also slid the labeled wires from the instrument cluster, signals and switches out of the way with the mass. A sense of less complication and clarity sets in when the first simpler bundle is removed.
The next bundled extension requires aforethought. Some clusters of plugs cannot be pulled through en masse. Really take your time and fish them through piece meal especially to avoid ripping or smudging the identification tags.
Passenger Side Ports Front and Rear
Pulling the wiring through the few connections via the firewall and the rear passenger window are much simpler.
 Group Your Sub Bundles
I grouped the various bundles in the cockpit of the car. This included 1) trunk area bundle 2) passenger rear and door bundle 3) passenger firewall bundle 4) console bundle 5) interior gauges and switches bundle (large) 6) the larger bundle from engine compartment 7) the smaller bundle from the engine compartment.
The "nexus" (what I call it) is the center of everything and must be reinstalled perfectly. Take note of how the nexus of the harness has moved and where it came from. Label the nexus with an arrow denoting where it fits. Label where the bundles clip to the sheet metal of the car. Also label where the harness goes through various ports in the sheet metal. Label where the harness fits in the corners (ex. driver’s side kick panel top).
Bag Your Sub Bundles
 I bagged each bundle and labeled the bag. I diagramed or mapped where each labeled bag of bundles is situated in the car. Then I carefully placed a box with orientation noted on the box (front, drivers side with arrow) and placed the bags in logically always noting how the nexus is moving from its original location. The labeled nexus will be sort of hanging out of the box.
Box Your Sub Bundles
 When re-assembling, place the box back (passenger side floor), and remove each bagged item and place where you removed it from by referring to your diagram or map. This is vital because chances are the reassembly will months or possibly a year or more before you actually re-install. With each bag going back to the diagram location, the nexus will fall out and back to where it is intended to go.